
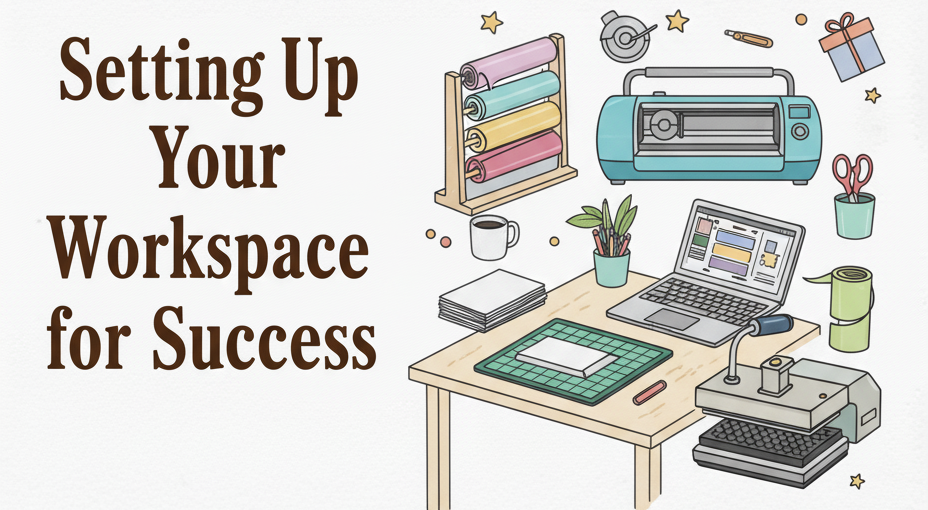
Setting up your workspace for success
Running a personalised gifts business doesn’t require a full studio or a Pinterest-perfect craft room. What it does require is a functional system. Whether you’re working from your dining room table or a spare bedroom corner, your workspace should help you produce faster, reduce mistakes, and protect your time.
Chantelle’s take: I worked from my dining room table for years. Only recently did I convert a spare room into a dedicated workspace — and that happened because the business grew enough to demand it. Start where you are. Your space will grow as your income grows.
🗂️ The three zones
Even if you’re working on a single table, thinking in zones helps you stay organised and move efficiently through orders. Here’s the simple framework:
✂️ Cutting zoneYour machine, cutting mats, and vinyl rolls. Keep this clear and consistent.
🖐️ Application zoneTransfer tape, scraper, weeding tools. Where the design goes onto the product.
📦 Packing zonePackaging, tissue, thank-you cards, labels. Where finished products are wrapped and readied.
You don’t need three separate tables. You just need three clear areas — even if they share the same surface.
💡 Workspace essentials
Keep it clutter-free
Vinyl attracts dust. Small tools disappear easily. Clutter slows you down and causes mistakes. Use drawer dividers, small baskets, or clear containers to keep everything in its place.
Good lighting is non-negotiable
Weeding in poor light leads to ruined designs, wasted vinyl, and eye strain. Natural light is ideal. A strong LED desk lamp is the next best thing — and one of the cheapest, highest-impact upgrades you can make.
Keep your machine in a permanent spot
Constantly packing and unpacking your machine adds friction — and friction kills consistency. Even a small desk that stays “ready to go” will save you time and mental energy.
📦 Organising for efficiency
Label everything
Use labelled zip pouches or folders for permanent vinyl, removable vinyl, HTV, and scraps sorted by colour. Scrap organisation reduces waste — which directly increases profit.
Keep a tool caddy
Weeding tools, scrapers, spare blades, scissors, and tweezers should all live in one accessible spot. No hunting. No wasted minutes mid-order.
Track your inventory
Running out of vinyl mid-order is stressful. Running out when a client needs it in two days is worse. Keep a simple list — a spreadsheet, a notebook, anything — tracking your vinyl colours, blanks, packaging, and transfer tape. If you know what you have, you can take on urgent orders confidently.
⏱️ Managing time as a side hustler
Set defined crafting hours
Even 1–2 focused hours daily can move your business forward. Schedule it like an appointment. Consistency beats random bursts of motivation every time.
Batch your tasks
Instead of completing orders one by one, group your tasks:
- Design session — prep all your files at once
- Cut session — run all your vinyl through the machine back-to-back
- Weed session — sit down, put something on in the background, weed everything together
- Pack session — package all finished orders at once
Batching increases speed, reduces mental fatigue, and makes your turnaround times more predictable.
Create an order tracking system
When an order comes in: write down full details, pull the blank and vinyl, and place everything in a tray or basket. When it’s time to craft, you don’t think — you execute. Chantelle writes every order in a notebook and ticks them off as they’re completed. That visual progress prevents forgotten orders and keeps you sane.
⚠️ Beginner mistakes to avoid
- Waiting for a “perfect” setup before starting
- Working without any order tracking system
- Mixing personal clutter with business materials
- Crafting randomly instead of batching
- Ignoring time boundaries and burning out
🎯 Your action task
Before moving to Lesson 5:
- Define your three zones — cutting, application, and packing. Even if it’s all on one table, label where each zone starts and ends.
- Set your weekly crafting hours — pick specific days and times and put them in your calendar.
- Set up an order tracking system — a notebook, a notes app, a spreadsheet. Anything. Just pick one and commit to it.
- Take a photo of your workspace right now. That’s your Day 1. Keep it — one day you’ll look back at it and smile.
Your workspace isn’t about aesthetics. It’s about building a reliable production system that supports consistent sales.