
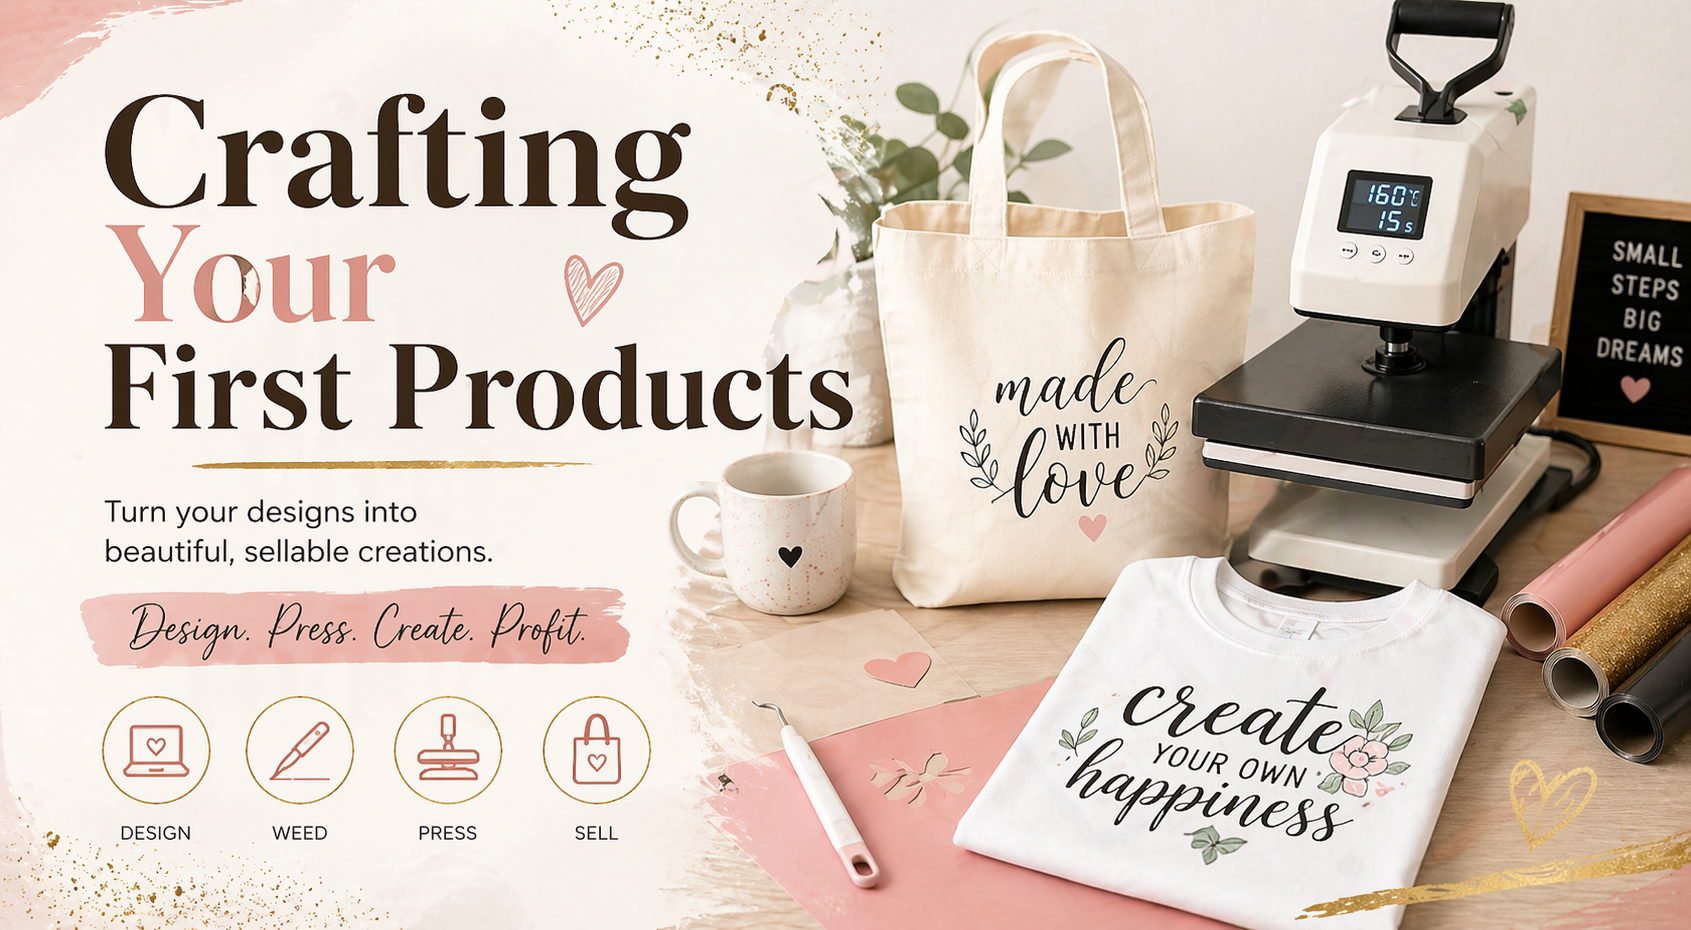
Crafting your first products
You’ve done the design work — now it’s time to bring it to life. This is where your business starts to feel real. In this lesson you’ll create your first professional HTV product and master the three core skills that everything else is built on: mirroring, weeding, and pressing.
Your first press might not be perfect. That’s completely normal — and it’s completely fine. What matters is going through the full process, understanding why each step exists, and building the muscle memory that makes your second press better than your first.
🛒 What you’ll need
| Item | Used for |
|---|---|
| Canvas tote bag (your blank) | Project 1 surface |
| HTV (matt or glitter) | Your design material |
| Weeding tool | Removing unwanted HTV after cutting |
| Heat press or iron | Bonding the HTV to the fabric |
| Teflon sheet or baking paper | Protecting the fabric and press plate |
| Heat-resistant tape | Holding your design in place during pressing |
Why a tote bag first? Tote bags are the ideal starting point — flat surface, forgiving fabric, no seams to navigate, and a strong profit margin. Once you’ve mastered the tote, everything else (t-shirts, baby grows, hoodies) becomes easier.
👜 Project 1: Professional HTV tote bag
1 Design and mirror
Prepare your design in Design Space or Silhouette Studio. Before cutting, mirror (flip horizontally) your design. This is non-negotiable for HTV — it’s pressed face-down, so without mirroring your design will be backwards on the bag. Everyone forgets this at least once. Now you won’t.
2 Load and cut
Place your HTV shiny side down, dull/matte side up. Your machine cuts through the vinyl but not the carrier sheet. Use the correct material setting for your HTV type. If you’re unsure, do a test cut on a small corner first — a 1cm square is enough to check blade depth.
3 Weed your design
Remove all the HTV you don’t want on the final product — leaving only your design on the carrier sheet. Start from a corner and pull at a 45° angle. For small details, use a “stab and lift” motion. Keep your original design visible on screen so you don’t accidentally remove the middle of a letter or a small element. Use strong lighting — HTV cut lines can be almost invisible in dim light. Save your scraps.
4 Pre-press the blank
Press your tote bag for 3–5 seconds with no vinyl on it. This removes moisture and wrinkles, and prepares the fabric fibres for bonding. It’s a small step that makes a measurable difference to adhesion — don’t skip it.
5 Position your design
Place your weeded design shiny carrier sheet up. Use your placement guide from Lesson 5 — centre the design in the upper third of the bag. Use heat-resistant tape to hold it in place if needed. Take a moment. Check alignment carefully before pressing — once it’s pressed, it’s permanent.
6 Press
Cover with your Teflon sheet or baking paper. Press at approximately 150–160°C for 12–15 seconds with firm, even pressure. You should feel resistance when you close the press — not a struggle, not a tap. A consistent press with even pressure is the difference between a design that lasts and one that peels.
7 Peel
This step depends on your HTV type — check the packaging if you’re unsure. Hot peel: remove the carrier sheet immediately while still warm. Cold peel: wait until completely cool before peeling. Peeling at the wrong time is one of the most common causes of ruined designs. When in doubt, let it cool.
8 Cure and check
Leave the finished tote for 24 hours before washing. After curing, do a fingernail test — press your nail under an edge of the design. It should not lift. If it does, your temperature, pressure, or timing needs adjusting. Record what went wrong in your pressing log and adjust for next time.
📋 Your pressing log: your secret weapon
Every HTV type behaves slightly differently — and your machine may run hotter or cooler than the manufacturer’s suggested settings. A pressing log turns your trial and error into a reliable personal formula library.
| HTV type | Supplier | Temp | Time | Pressure | Peel | Result |
|---|---|---|---|---|---|---|
| Matt black | — | 155°C | 15 sec | Firm | Cold | ✅ Perfect |
| Gold glitter | — | 160°C | 15 sec | Firm | Hot | ✅ Perfect |
| Add your own results as you test each vinyl type | ||||||
🔧 Troubleshooting: common problems and fixes
| Problem | Likely cause | Fix |
|---|---|---|
| Design peeling after wash | Temperature too low, pressure too light, or wrong peel timing | Increase temp by 5°C, press longer, double-check peel type |
| Design pressing backwards | Forgot to mirror before cutting | Always mirror. No exceptions. Check before every cut. |
| Bubbling under design | Moisture in fabric, or pressing too fast | Pre-press the blank first; press more slowly and firmly |
| Design lifting at edges | Not enough pressure at edges, or cold press plate | Allow press to fully heat; apply extra pressure at edges |
| Ghosting (shadow around design) | Design shifted slightly during pressing | Use heat-resistant tape to secure design before pressing |
| Carrier sheet won’t peel cleanly | Peeling too early (cold peel HTV) or too late (hot peel HTV) | Check your HTV type and peel accordingly |
🧺 The quality test
After your tote has cured for 24 hours, wash it. This is your real quality check — not how it looks fresh off the press, but how it holds up after a cold wash inside out. If it holds cleanly, you have a sellable product. If it peels, check your pressing log and adjust. That’s the job.
💡 The Care Card System (Your Silent Sales Assistant)
Every order should include a simple care card.
This:
- Protects your product
- Reduces questions
- Makes you look professional
👀 Example Care Card
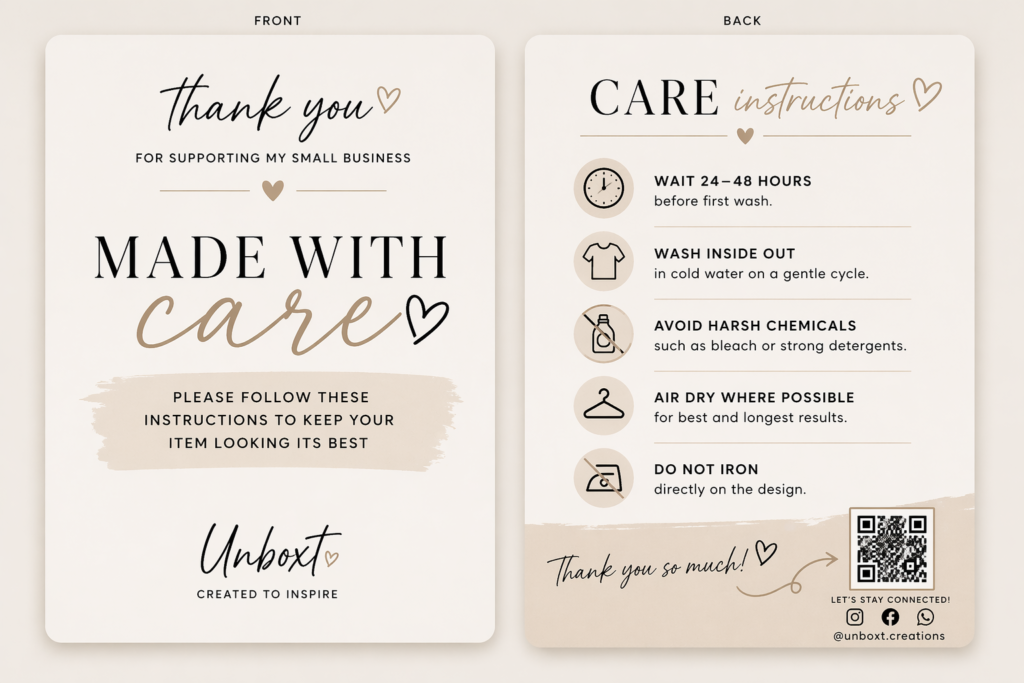
Front:
“Made with care 🤍
Please follow these instructions to keep your item looking its best”
Back:
- Wait 24 hours before first wash
- Wash inside out (cold water)
- Avoid harsh chemicals
- Air dry where possible
- Do not iron directly on the design
💡 This small detail turns a “nice product” into a professional experience.
🧠 Essential Skill: Mastering “The Weed”
Weeding is where patience pays off.
Make it easier:
- Use strong lighting
- Add a “weeding box” before cutting
- Work slowly
💡 Keep your scraps — they become future mini designs.
📸 Now photograph it
Your first finished product deserves a photo — and that photo is your first piece of marketing content. You don’t need a studio. Here’s what works with just your phone:
- Natural light near a window — not in harsh direct sun
- Three shots: close-up of the design, full product flat lay, and the bag “in use” (over a shoulder, held by hand, styled with a coffee cup)
- Clean background — a white surface, a wooden board, or a marble-effect craft sheet all work brilliantly
Post at least one photo to your WhatsApp status, Instagram, Facebook, anywhere. Tag @Unboxt.za and use #UnboxtCreators. Chantelle regularly reshares student work to help promote your businesses.
🎯 Your action task
- Complete the tote bag project from start to finish — mirror, cut, weed, pre-press, place, press, peel.
- Start your pressing log — record the settings you used and the result. Even if the first press isn’t perfect, the log tells you what to adjust.
- Wash your tote after 24 hours — this is your quality test. Take a photo before and after.
- Take 3 product photos in good light and post at least one somewhere today.
This is the moment your course becomes a business. You’ve learned the theory — now you have a real product in your hands. Everything from here is about doing this more consistently, more confidently, and for paying customers.